Configuring AWS Aurora Postgres for Readyset
If you're using AWS Aurora Postgres, you'll need to make a few configuration changes via the AWS console to enable Readyset to properly replicate tables.
Instructions
1. Establish a network connection
To make sure Readyset can connect with your database, the database will have to be publicly accessible.
- Log in to your AWS account.
- Click on RDS, which can be found by searching for it in the search bar, under the Services menu, or in your Recently Visited area. Within RDS under the Resources section, select DB instances.
- Choose the instance you want to use.
- Click the Modify button in the upper right corner.
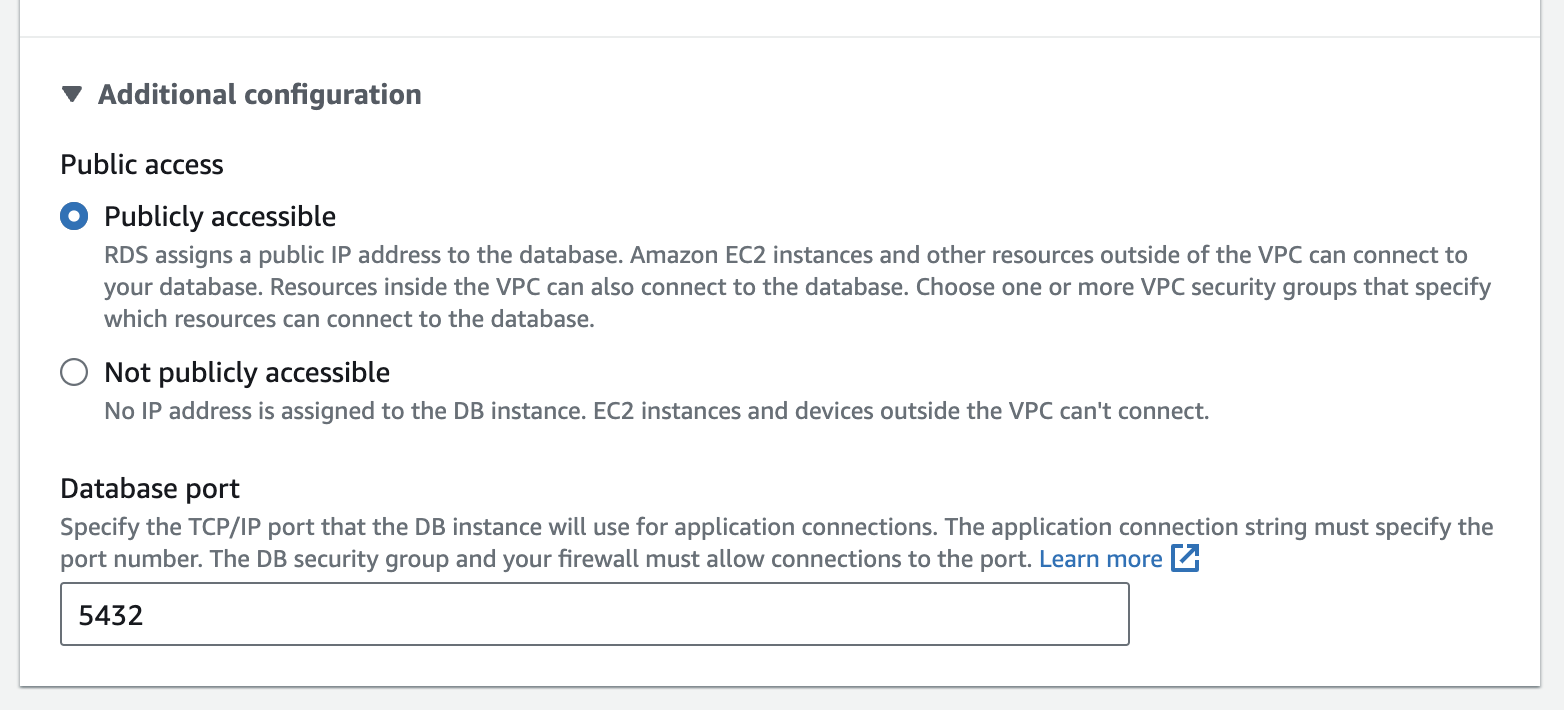
- In the Connectivity section, click on Additional configurations.
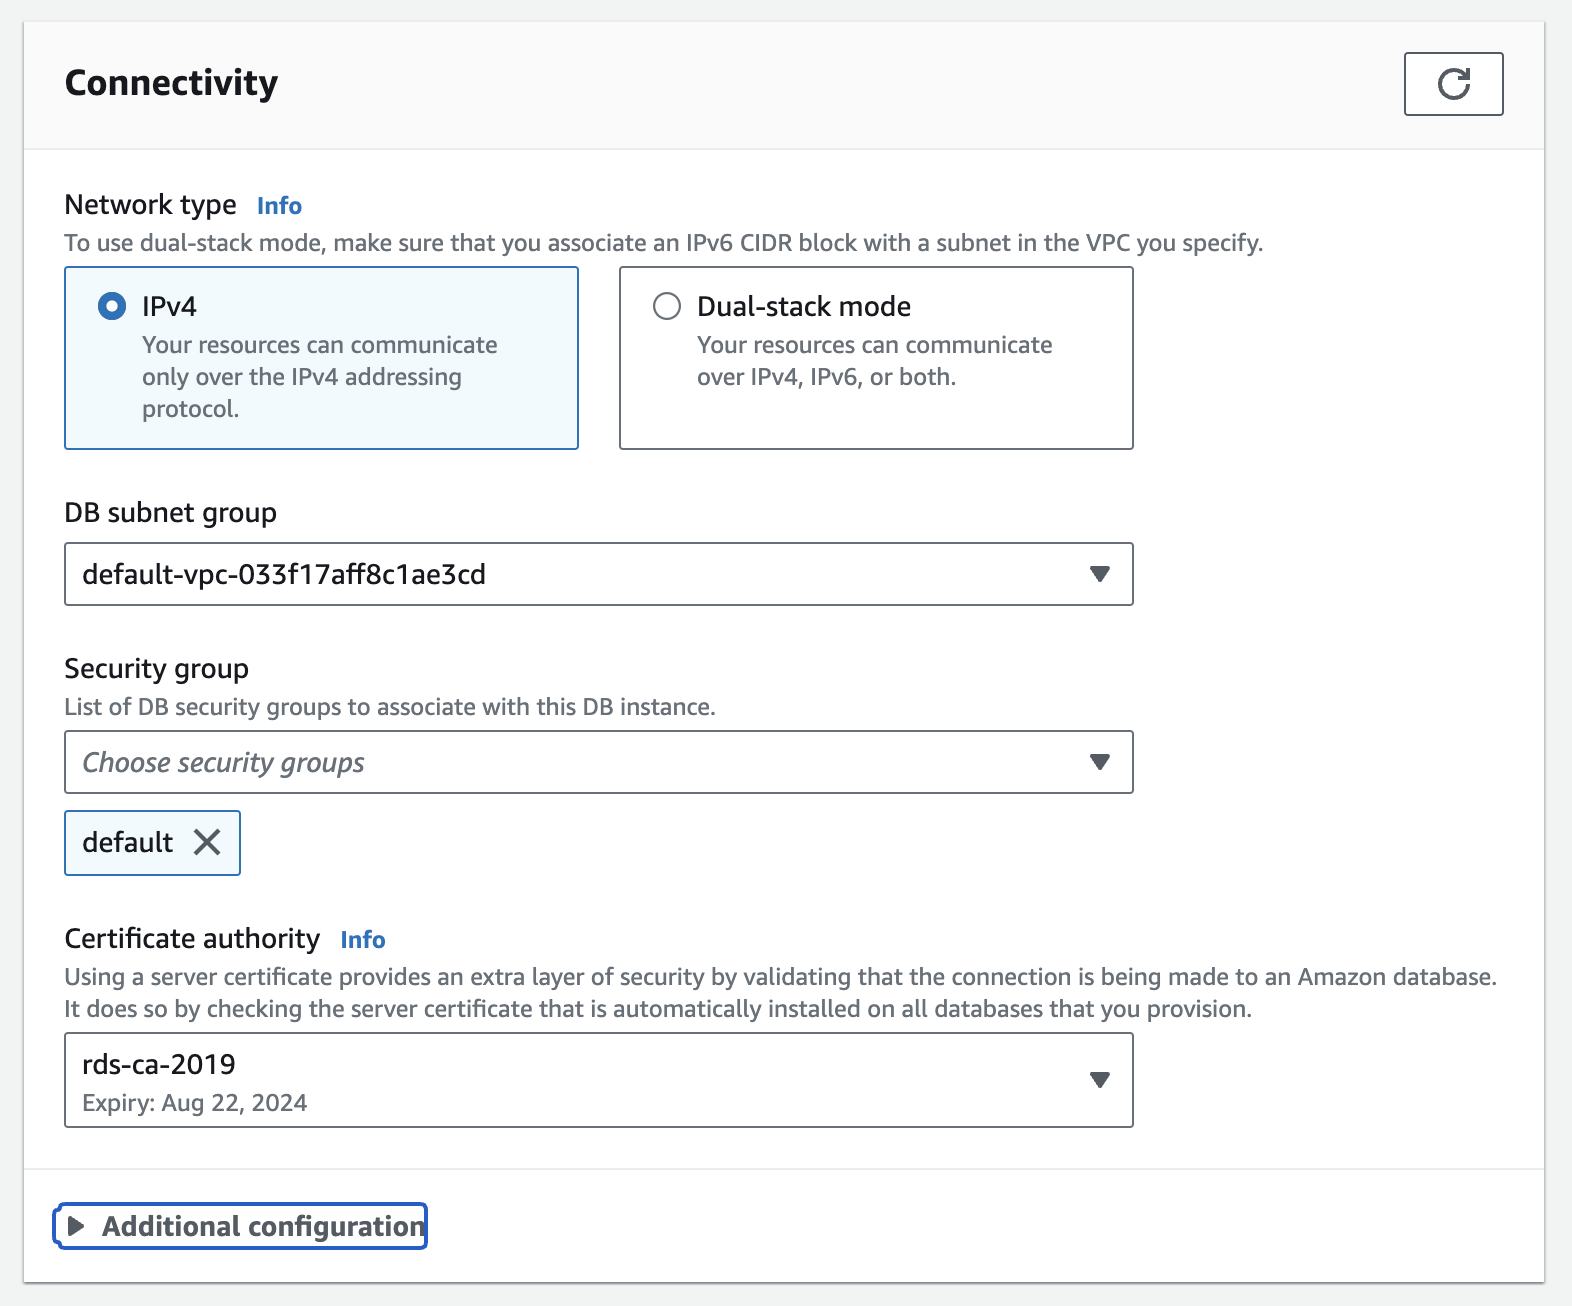
- Under Public access, choose Publicly accessible.
- Click on Continue at the bottom of the page.
- Select when you want to apply the change and click Modify DB instance.
2. Turn on logical replication
- Log in to your AWS account.
- Click on RDS, which can be found by searching for it in the search bar, under the Services menu, or in your Recently Visited area.
- Under the Resources section, select Parameter groups (opens in a new tab) in the upper right.
- Select Create Parameter group from the upper right corner.
- Choose Aurora postgres 15 from the dropdown menu.
- Under Group Name select DB Cluster Parameter Group from the dropdown. For Readyset to work this must be at the cluster-level.
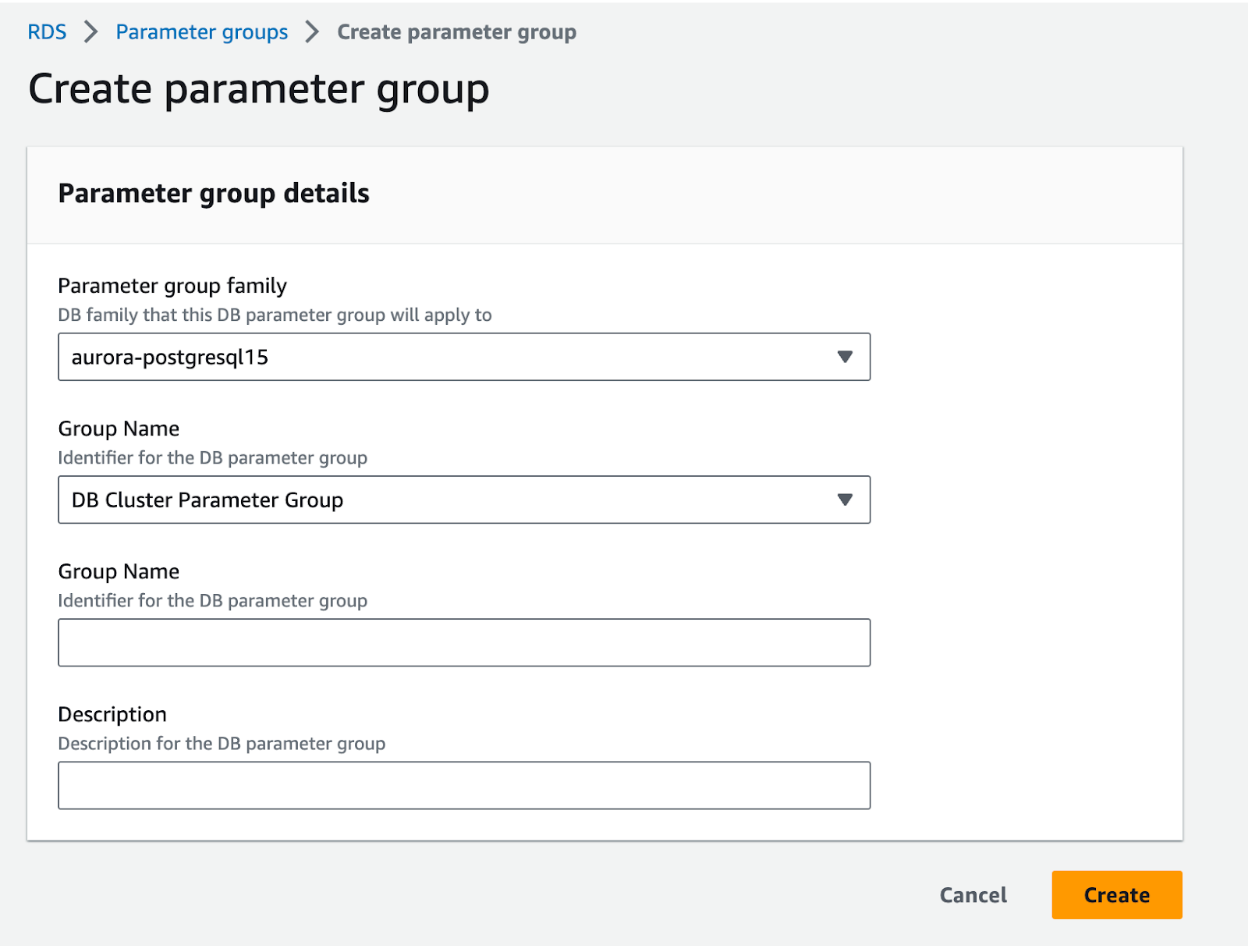
- Choose a name and add an optional description and then hit the Create button.
- Return to Parameter groups and select the name of your newly-created group.
- Select Edit from the top right corner.
- Search for
rds.logical_replicationand change the value from 0 to 1. - Go back to the dashboard and select your Aurora write node instance and then select Edit in the top right corner.
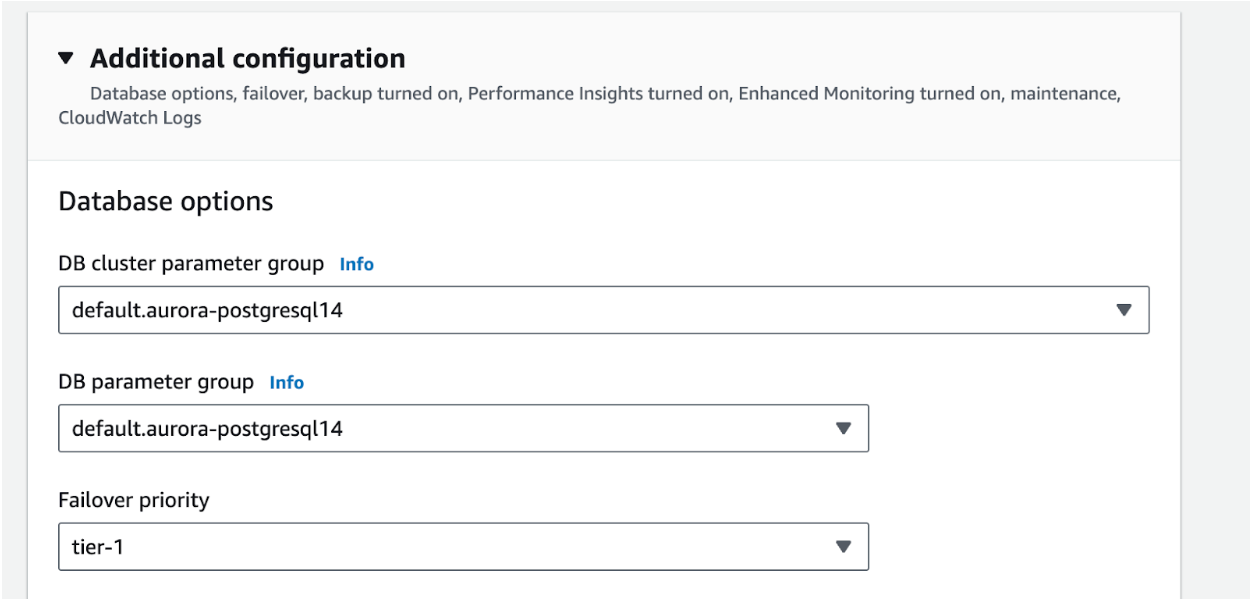
- Open Additional configurations at the bottom of the page. Under Database options there's a dropdown to select a DB parameter group. Select the appropriate Parameter group for the DB cluster parameter group.
- To check that this worked, run the following command:
SELECT name,setting FROM pg_settings WHERE name = 'rds.logical_replication';If you're not seeing:
name | setting
-------------------------+---------
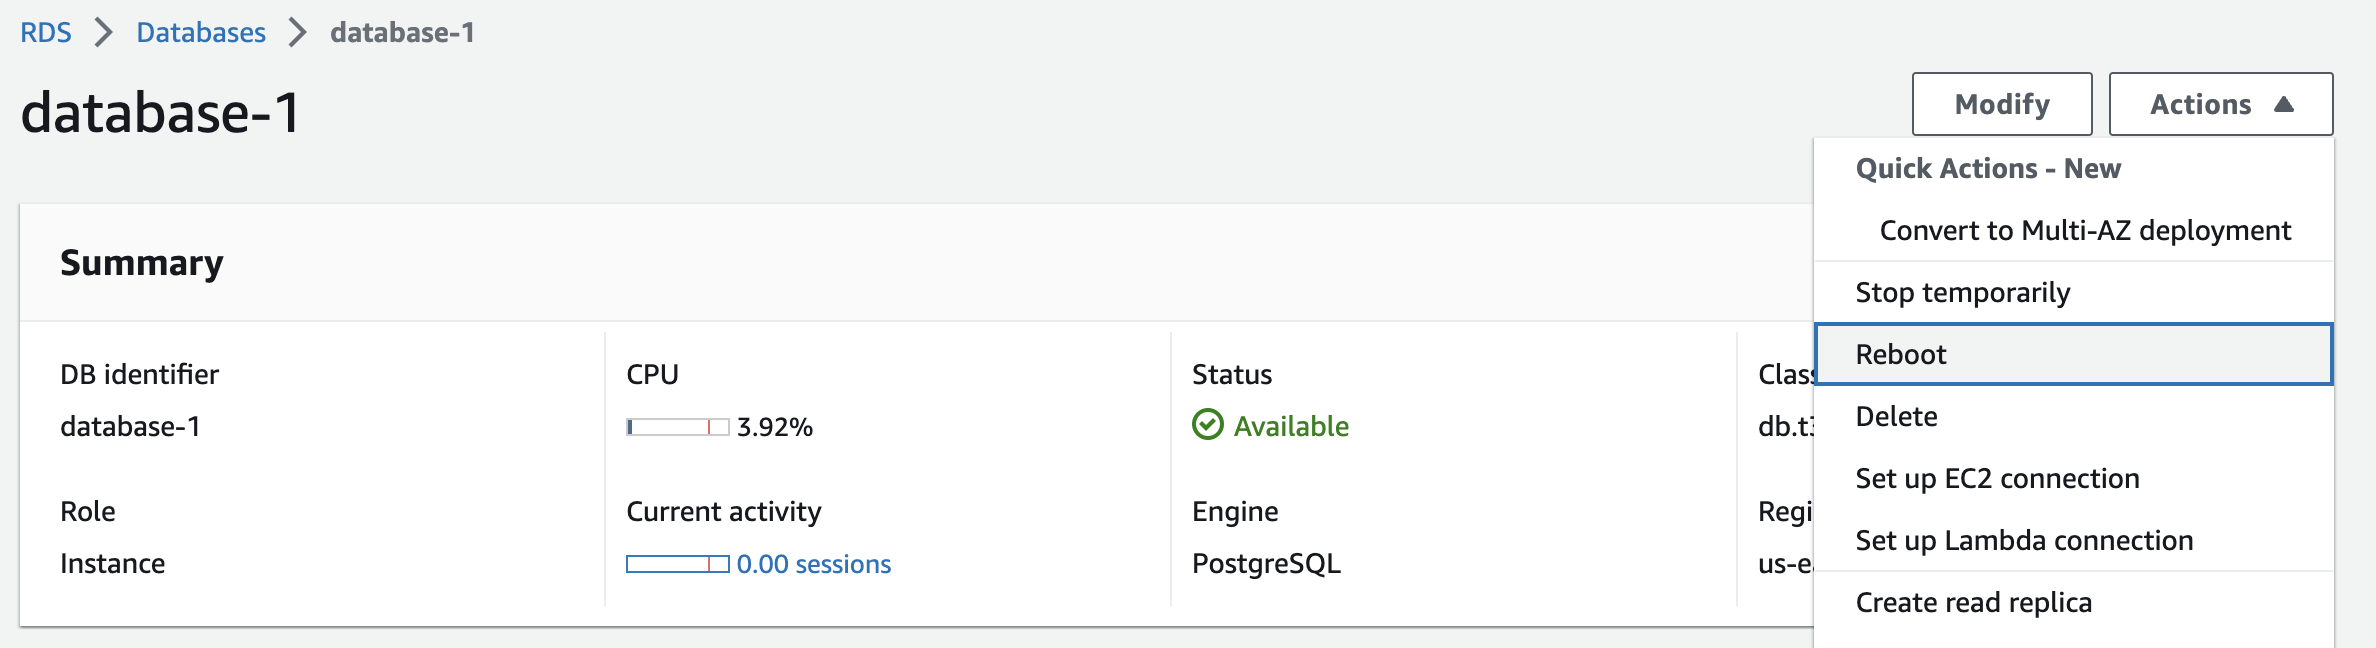
rds.logical_replication | onYou may need to reboot your instance. To do that go to your write node instance and click on the Actions menu in the upper right corner and select Reboot.
3. Enable superuser permissions
If you are using RDS and Readyset with the same user account (opens in a new tab) you used to set up the database, permissions do not need to be enabled.
If you need to add a new user account or access Readyset with a different one, you'll need to enable superuser permissions. To do that, enter the following in the psql command line interface:
UPDATE pg_user SET usesuper=true where usename = CURRENT_USER;